
5 min read
A webcam that shows a black screen in the middle of a call is embarrassing, but the camera is rarely broken. Privacy settings, another app holding the camera, a stuck driver, or a physical shutter can each produce a black image while the camera itself is fine.
This guide shows how to fix a webcam that shows a black screen. You will check permissions and shutters first, then look for app conflicts, then fix drivers, and you will learn the hardware checks that tell you whether the camera truly needs repair.
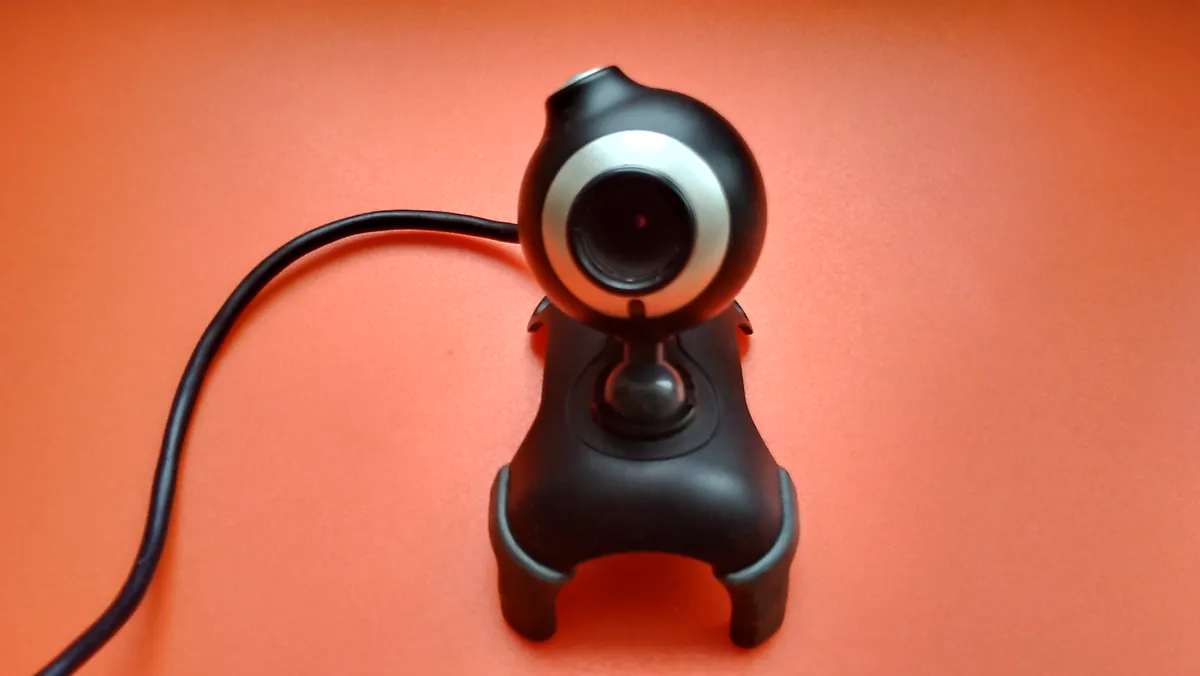
Why the Webcam Shows Black
A black webcam image means the app receives no picture from the camera. The camera may be blocked by a privacy setting, busy in another app, turned off by a function key, or covered by a shutter. In each case the app shows black because no image reaches it, not because the camera sensor has failed.
Privacy features are the most common cause. Operating systems, browsers, and video apps each have their own camera permission, and any one of them can block the camera. A system update or a new app install can reset a permission without telling you, so a camera that worked yesterday can go black today.
Drivers translate between the camera hardware and the apps. A driver that crashes, goes out of date, or conflicts with another device can leave the camera listed in the system but unable to deliver a picture. A restart or a driver reinstall usually clears this state.
Permission and Privacy Checks
On Windows, open Settings, then Privacy and Security, then Camera, and confirm that camera access is on. Scroll down and check that the specific app, such as Teams, Zoom, or your browser, is allowed. If the toggle for the app is off, the app shows black even though the camera works elsewhere.
On a Mac, open System Settings, then Privacy and Security, then Camera, and confirm the app is listed and enabled. Browsers ask separately for each site, so check the address bar for a camera icon if a web app shows black. Click it and allow camera access for that site.
Check the physical shutter and the function key. Many laptops have a sliding shutter over the camera, a key that disables the camera, or a small switch on the side. A shutter that is half closed can produce a black or half-black image. Open the shutter fully and try the camera again before you change any software.
App Conflicts and the Camera in Use
Most webcams can serve only one app at a time. If a video app, a recording tool, or a browser tab already holds the camera, a second app shows black. Close every app that might use the camera, including background tools, and then open only the app you want to use.
Virtual camera tools and video effects can also capture the camera. OBS, Snap Camera, and similar tools create a virtual camera that can intercept the real one. If you use any of these tools, close them completely, not just their windows. A tool running in the system tray can still hold the camera.
Test the camera in the built-in camera app. On Windows, open the Camera app; on a Mac, open FaceTime or Photo Booth. If the built-in app shows a picture, the camera hardware works, and the problem is in the other app or its permissions. If the built-in app also shows black, the problem is system-wide.
Drivers and Device Manager
Open Device Manager on Windows, expand Cameras or Imaging Devices, and look for your webcam. A yellow warning icon means a driver problem. Right-click the camera, choose Update Driver, and let Windows search automatically.
Roll back the driver if the problem started after an update. In the camera properties, open the Driver tab and choose Roll Back Driver if the button is available. Driver updates can break older cameras, and rolling back restores the version that worked.
On a Mac, there is no separate camera driver to reinstall. Instead, restart the Mac, which resets the camera system. If the problem persists, reset the SMC on Intel Macs or simply restart again on Apple silicon Macs. A macOS update can also fix camera bugs, so check for updates in System Settings.
Hardware Checks and When to Replace
Try the camera on a different account or in safe mode. If the camera works there, a startup program or a setting in your account is blocking it. If it fails everywhere, the fault is deeper. Try an external USB webcam: if the external camera works, the built-in camera or its cable is the faulty part.
Check the hinge and lid area on a laptop. The camera cable runs through the hinge, and a pinched cable can fail when the lid moves. If the camera works at some lid angles and not others, the cable is the likely cause. This is a repair job, because reaching the cable means opening the display assembly.
An external webcam is a cheap and reliable fix when the built-in camera fails. A basic 1080p webcam costs far less than a display repair and usually looks better than an old built-in camera. Replace the built-in camera only if the laptop is new, under warranty, or worth the repair cost.
Found a tip you liked here? The articles below have more of the same, starting with Webcam Boot Failure: Troubleshooting & Best Practices.
Reference: Black Screen — Wikipedia
Related Articles:
- Webcam Boot Failure: Troubleshooting & Best Practices
- Fixing Webcam Forgotten Password: A Beginner's Guide
- Troubleshooting Webcam Data Loss: High Performance
What is your take?
Share your experience or questions in the comments — especially if you have used this tech yourself.
Found this useful? Share it with a friend who would want to know.